Autoclaves are indispensable tools in various industries, including healthcare, laboratories, and research facilities. They play a crucial role in sterilizing equipment and materials to eliminate microorganisms, ensuring safety and preventing contamination. However, to maintain the reliability and effectiveness of autoclaves, regular cleaning is paramount. Let’s explore the step-by-step process of autoclave cleaning to maximize its performance and longevity.
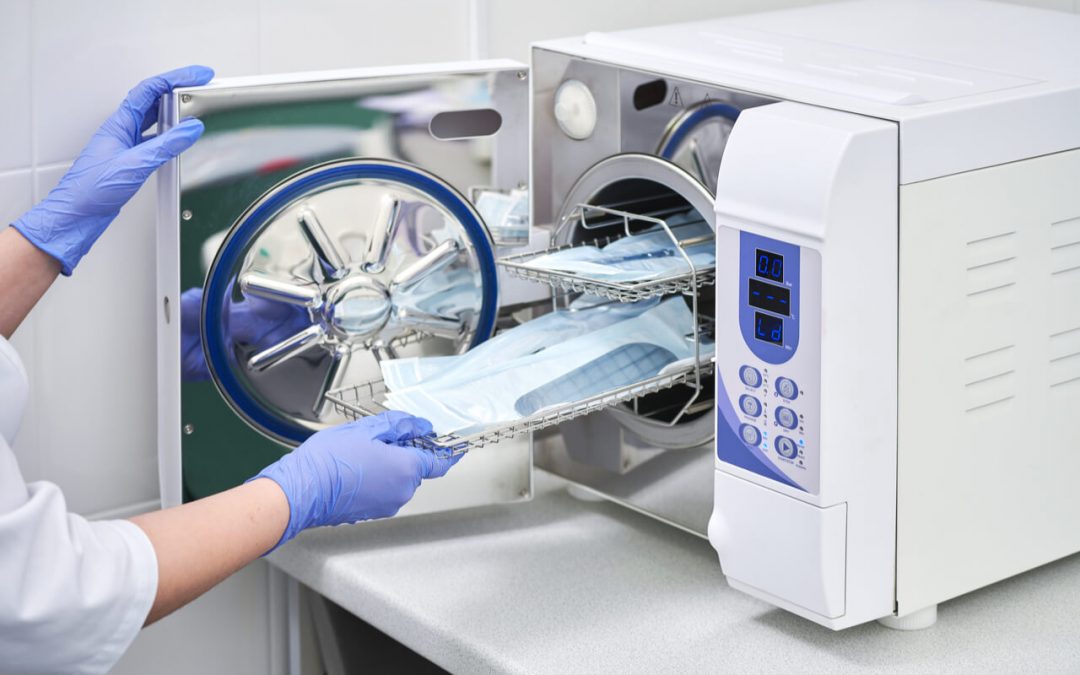
Image: www.melagautoclave.com.au
Pre-Cleaning Essentials: Safety First
Before embarking on the cleaning process, safety precautions should be taken:
- Wear appropriate personal protective equipment (PPE), including gloves, eye protection, and a lab coat.
- Ensure the autoclave is turned off and cooled completely to avoid burns.
- Disconnect the autoclave from the power source and water supply.
- Remove any loose items or materials from the autoclave chamber.
Embarking on the Cleaning Journey
1. External Cleaning for a Pristine Exterior
- Use a damp cloth with a mild cleaning solution to wipe down the autoclave’s exterior, removing any debris or surface contaminants.
- Pay attention to crevices and areas where dirt tends to accumulate.
- Rinse the exterior with clean water and dry it thoroughly using a dry cloth.

Image: www.net32.com
2. Decontamination and Cleaning the Chamber: A Deep Dive into Hygiene
- Step 1: Disinfection – Using a disinfectant solution (e.g., 70% ethanol), spray the interior surfaces of the autoclave chamber, including the door, seals, and racks. Allow ample time for the disinfectant to act as per the manufacturer’s instructions.
- Step 2: Soap and Water – Prepare a cleaning solution by mixing a mild detergent with water. With a damp cloth or sponge, thoroughly clean all surfaces inside the chamber, taking care to remove any visible residue, dirt, or organic matter.
- Step 3: Rinse and Dry – Rinse the interior thoroughly with clean water to remove any remaining cleaning solution. Use a suction device or clean cloths to absorb excess moisture. Allow the chamber to dry completely before proceeding.
3. Cleaning the Door and Seals: A Barrier Against Contamination
- Remove the door seal carefully. Use a soft brush and a mild bleach solution (0.5–1%) to gently scrub the seal, removing any debris or biofilm.
- Clean the door using a cloth dampened with the same bleach solution, paying attention to the door’s edges and latches.
- Rinse both the door and the seal with clean water and pat them dry using a clean cloth.
- Inspect the seal and door for any signs of damage or wear and tear. If necessary, replace damaged components.
4. Maintenance of the Drain System: A Gateway for Cleanliness
- Pour a drain cleaner solution (e.g., a mixture of vinegar and baking soda) into the drain and allow it to sit for a designated time.
- Flush the drain thoroughly with plenty of clean water to remove any debris or obstructions.
- If available, use an extension brush or suction device to thoroughly clean the drain hose.
How To Clean The Autoclave
https://youtube.com/watch?v=LSOfQ1qQmnw
Conclusion: A Clean Autoclave, a Safe Autoclave
By following these comprehensive cleaning steps, you can effectively maintain your autoclave, ensuring optimal performance, longevity, and safety. A clean autoclave ensures successful sterilization cycles, preventing contamination and upholding the integrity of your work. Remember to refer to your autoclave’s user manual for specific recommendations and additional cleaning guidelines. By prioritizing autoclave cleaning, you contribute to a safe and efficient laboratory environment, fostering accurate results and maintaining the well-being of all.
